

Kitchen splashback at corners – how to achieve the perfect finish
You have your new kitchen splashback and want to get started – but what to do at the corners? Here you'll learn how to finish butt joints cleanly and professionally, without needing a tradesperson.
Why can't the splashback be bent around corners?
The rigid PREMIUM kitchen splashback provides a smooth, heat- and moisture-resistant surface. However, the PREMIUM version is very stiff, which means it can barely be bent. The solution: cut it at the corner and join the pieces butt-to-butt.
Step 1: Cut cleanly
Measure the corner and cut the splashback straight through with a sharp cutter or scissors. Use a ruler to work precisely and plan for enough overlap. A clean cut edge is essential.
Step 2: Butt adhesion
Apply the parts one after the other so that the edges meet exactly. Press the seam down firmly with a cloth to remove air bubbles. For perfect results, there are two additional options:
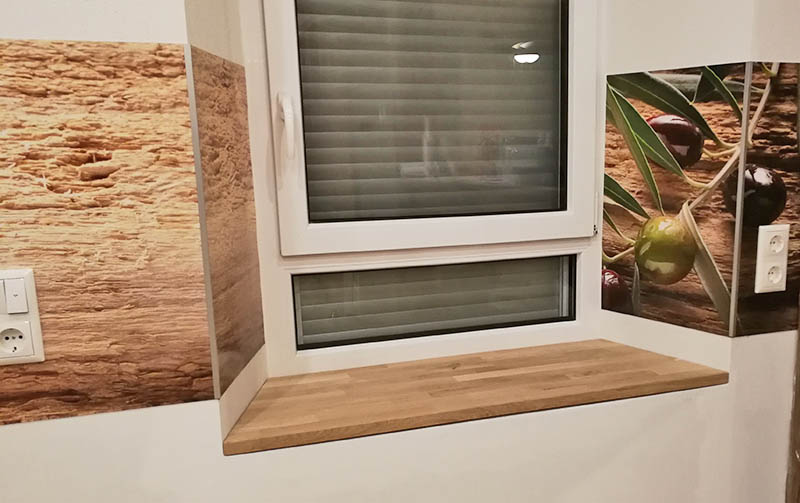
Option A: Seal the seam with silicone
Apply acid-free silicone, smooth it with a wet finger and let it cure. This protects against moisture, especially in the kitchen.
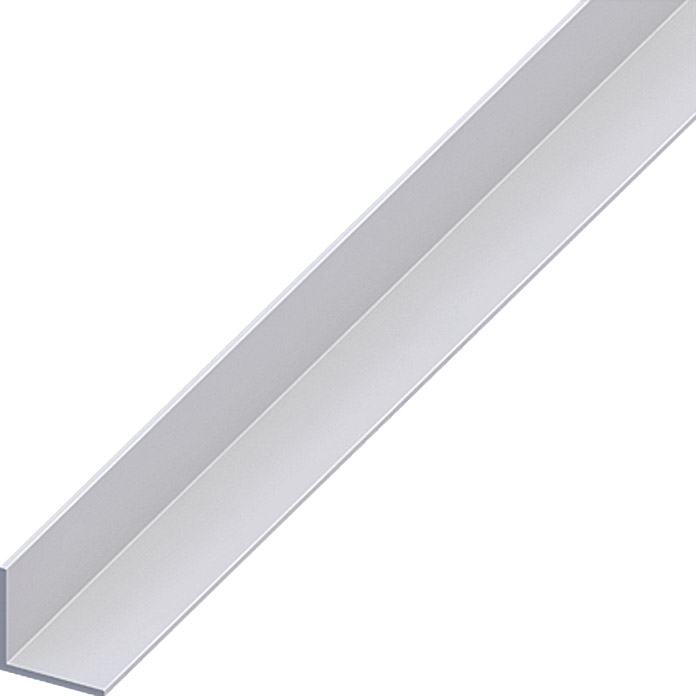
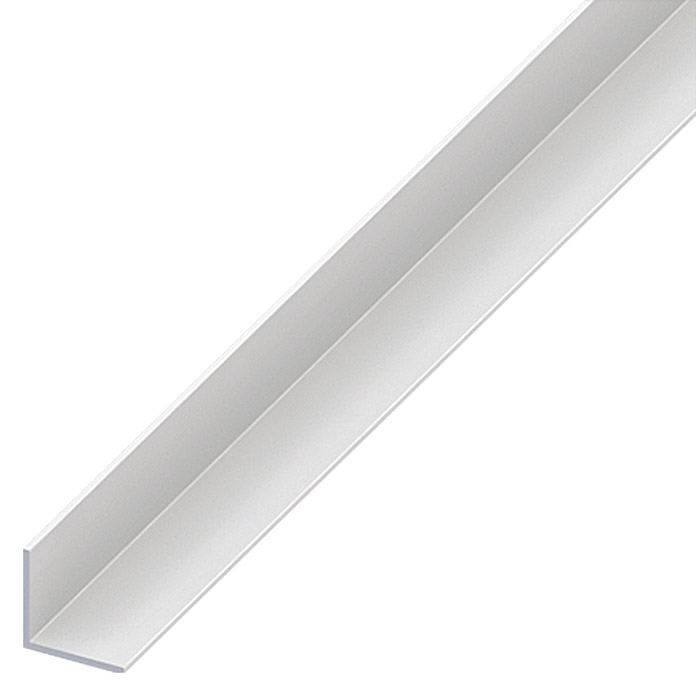
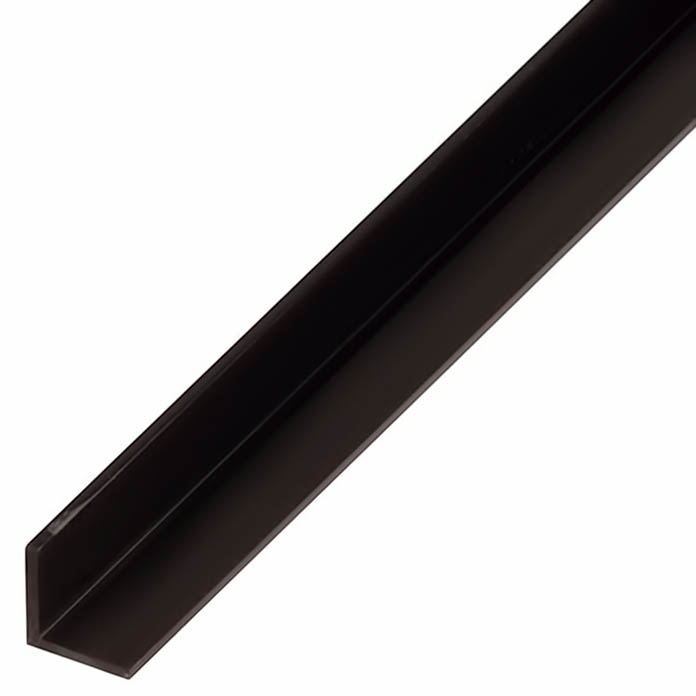
Option B: Use corner trim
Use corner trims made of aluminium or PVC for an elegant finish. Cut them to size, glue them securely and secure with painter's tape if needed.
Summary
- Quick and simple: Butt adhesion alone is sufficient.
- Extra protection: Silicone is ideal.
- Premium look: Corner trims visually enhance the corners.
Don't have a kitchen splashback yet? Check out the self-adhesive kitchen splashbacks from Stickerprofis and take your kitchen to the next level!
